It started with a wall that wouldn't cooperate.
I bought a Hoselink retractable hose reel and figured mounting it would take an afternoon. The bracket, the screws, done. How hard could it be?
Turns out, pretty hard when your house has lap siding. Every board steps out a little from the one above it. The flat backing board Hoselink sells doesn't follow that profile. It rocks. It gaps. Water sits behind it. I tried shims. I looked at building a separate post next to the wall. Nothing worked the way it should.
So I did what felt natural. I told the kids we were going to fix it ourselves.
We'd been learning to use our Bambu Labs A1 Mini together, looking for a real project beyond the usual test prints. This was it. A real problem with a real shape to figure out.
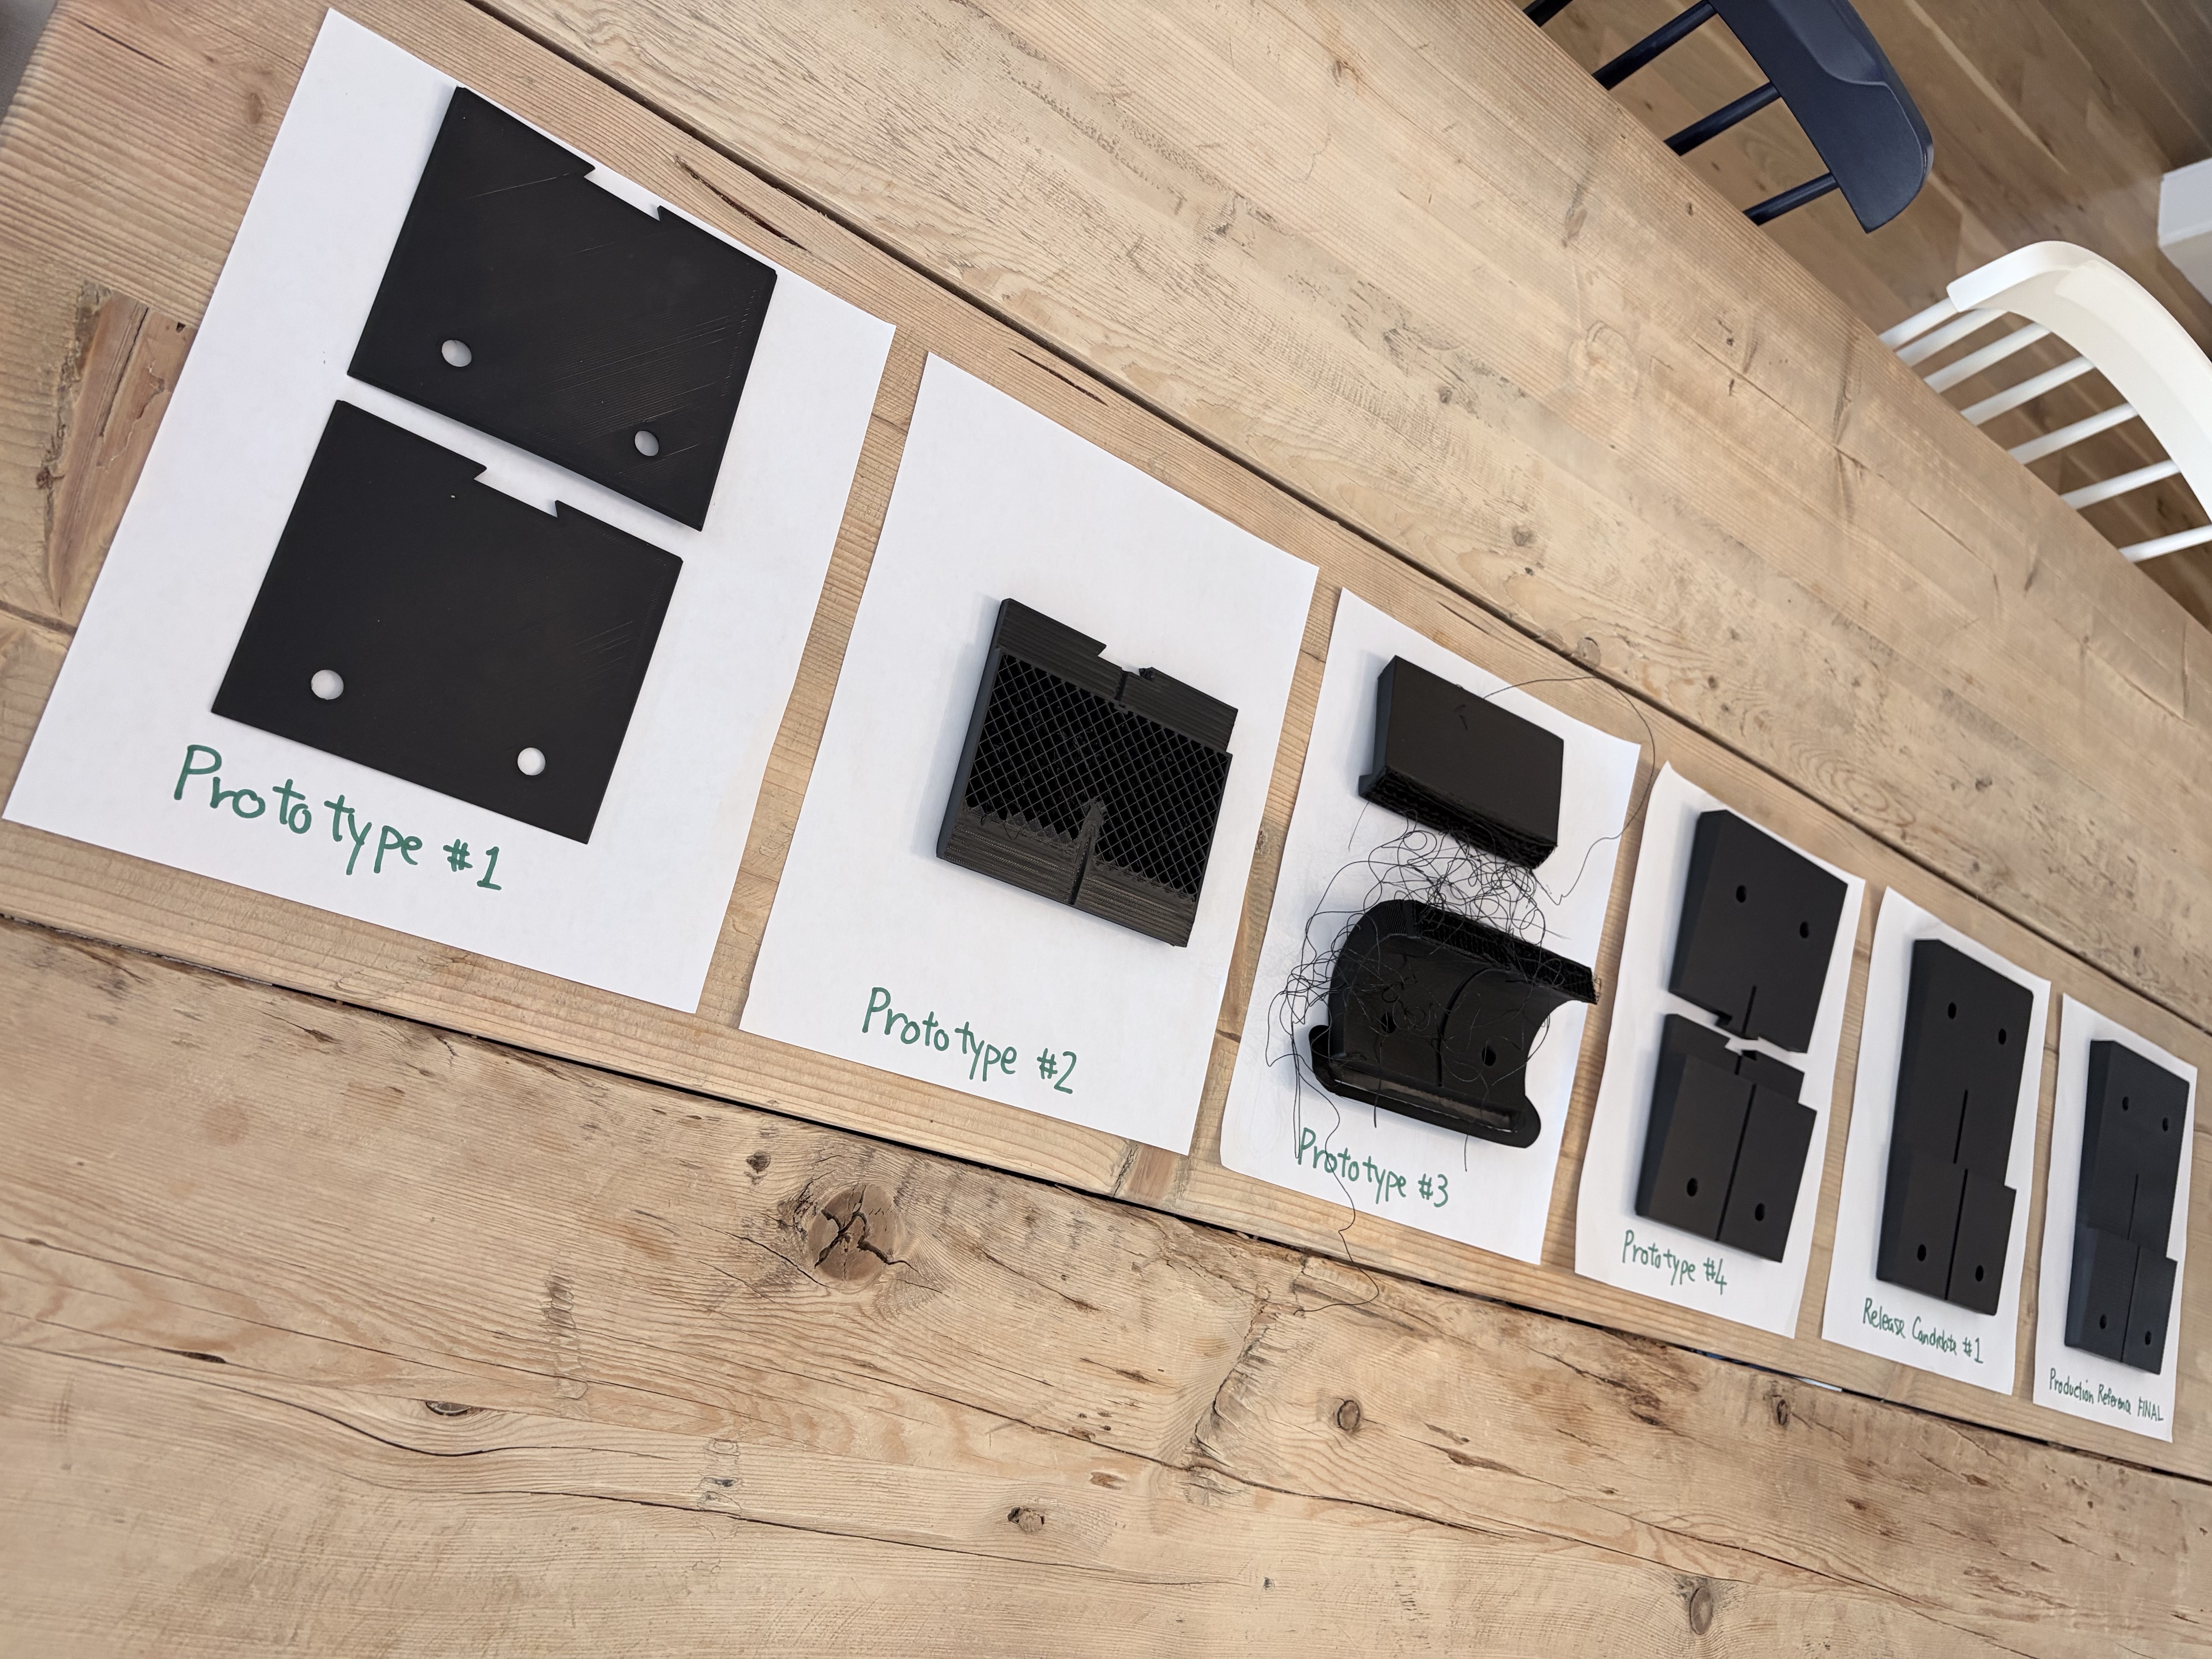
Over a dozen revisions and prototypes. A lot of filament.
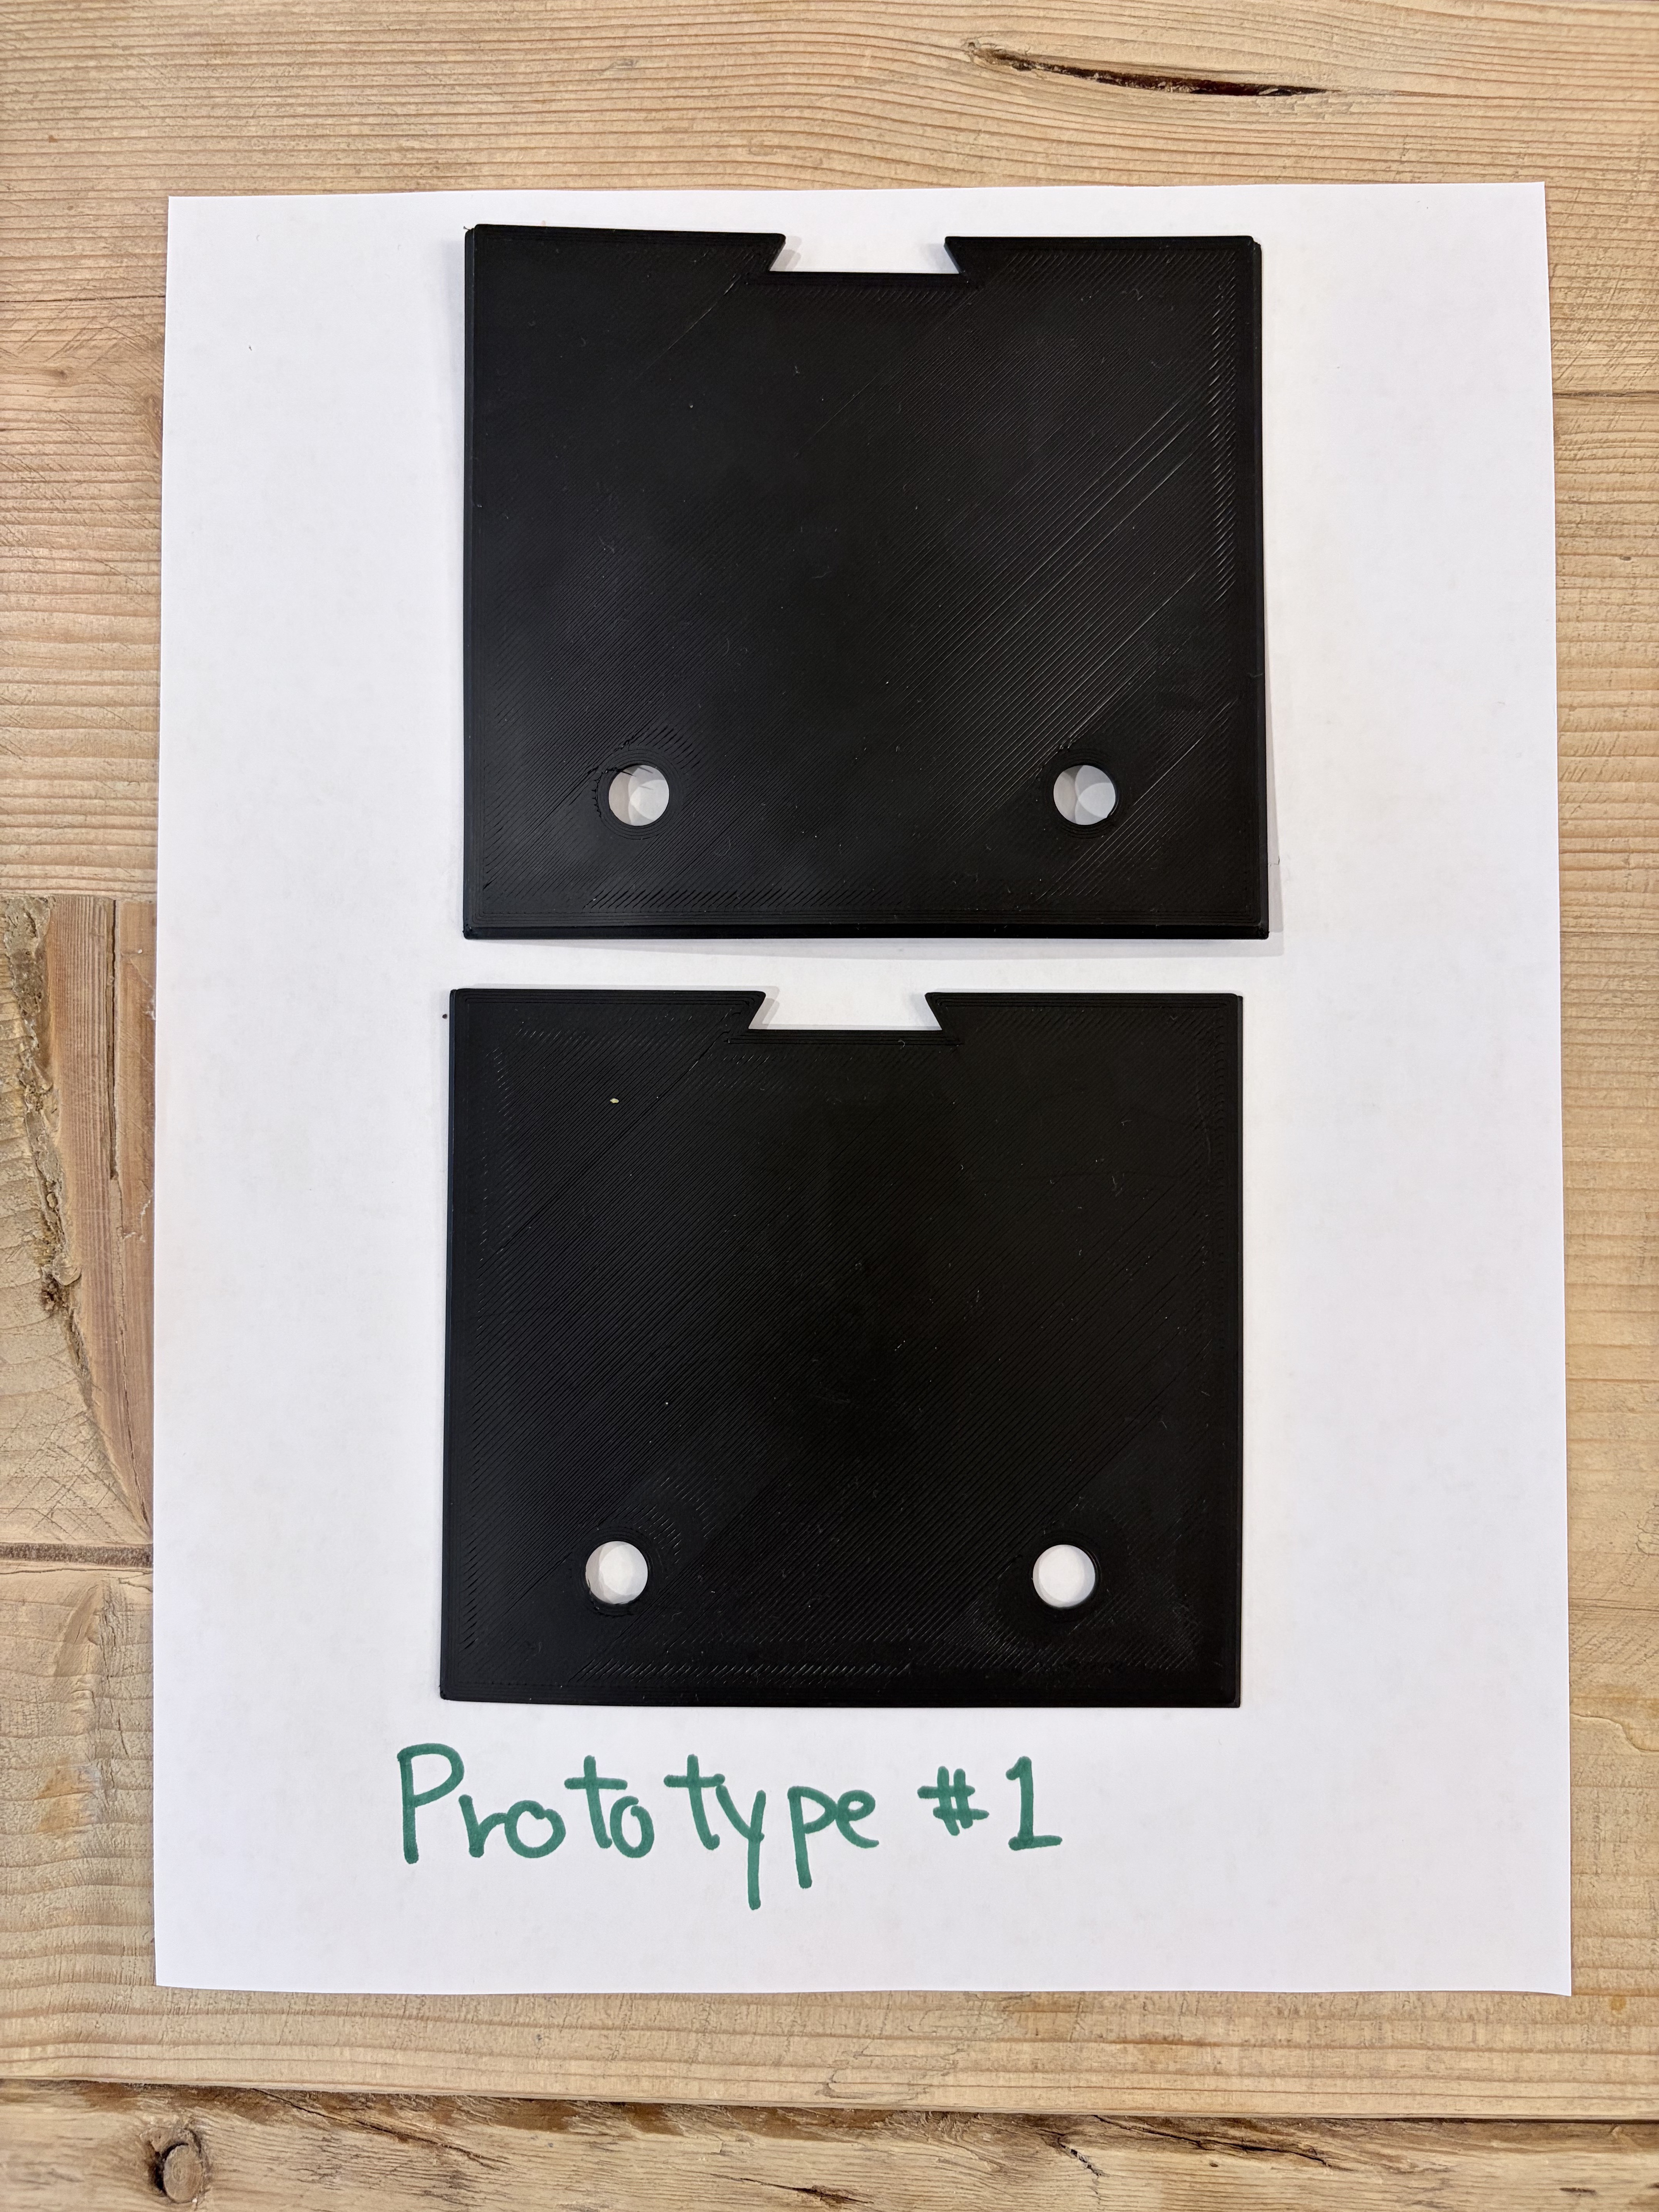
Prototype #1
The "can we even do this?" version. Two flat plates with a rough step notch. The step was in the wrong place and the holes didn't line up with anything. But it proved the idea could work.
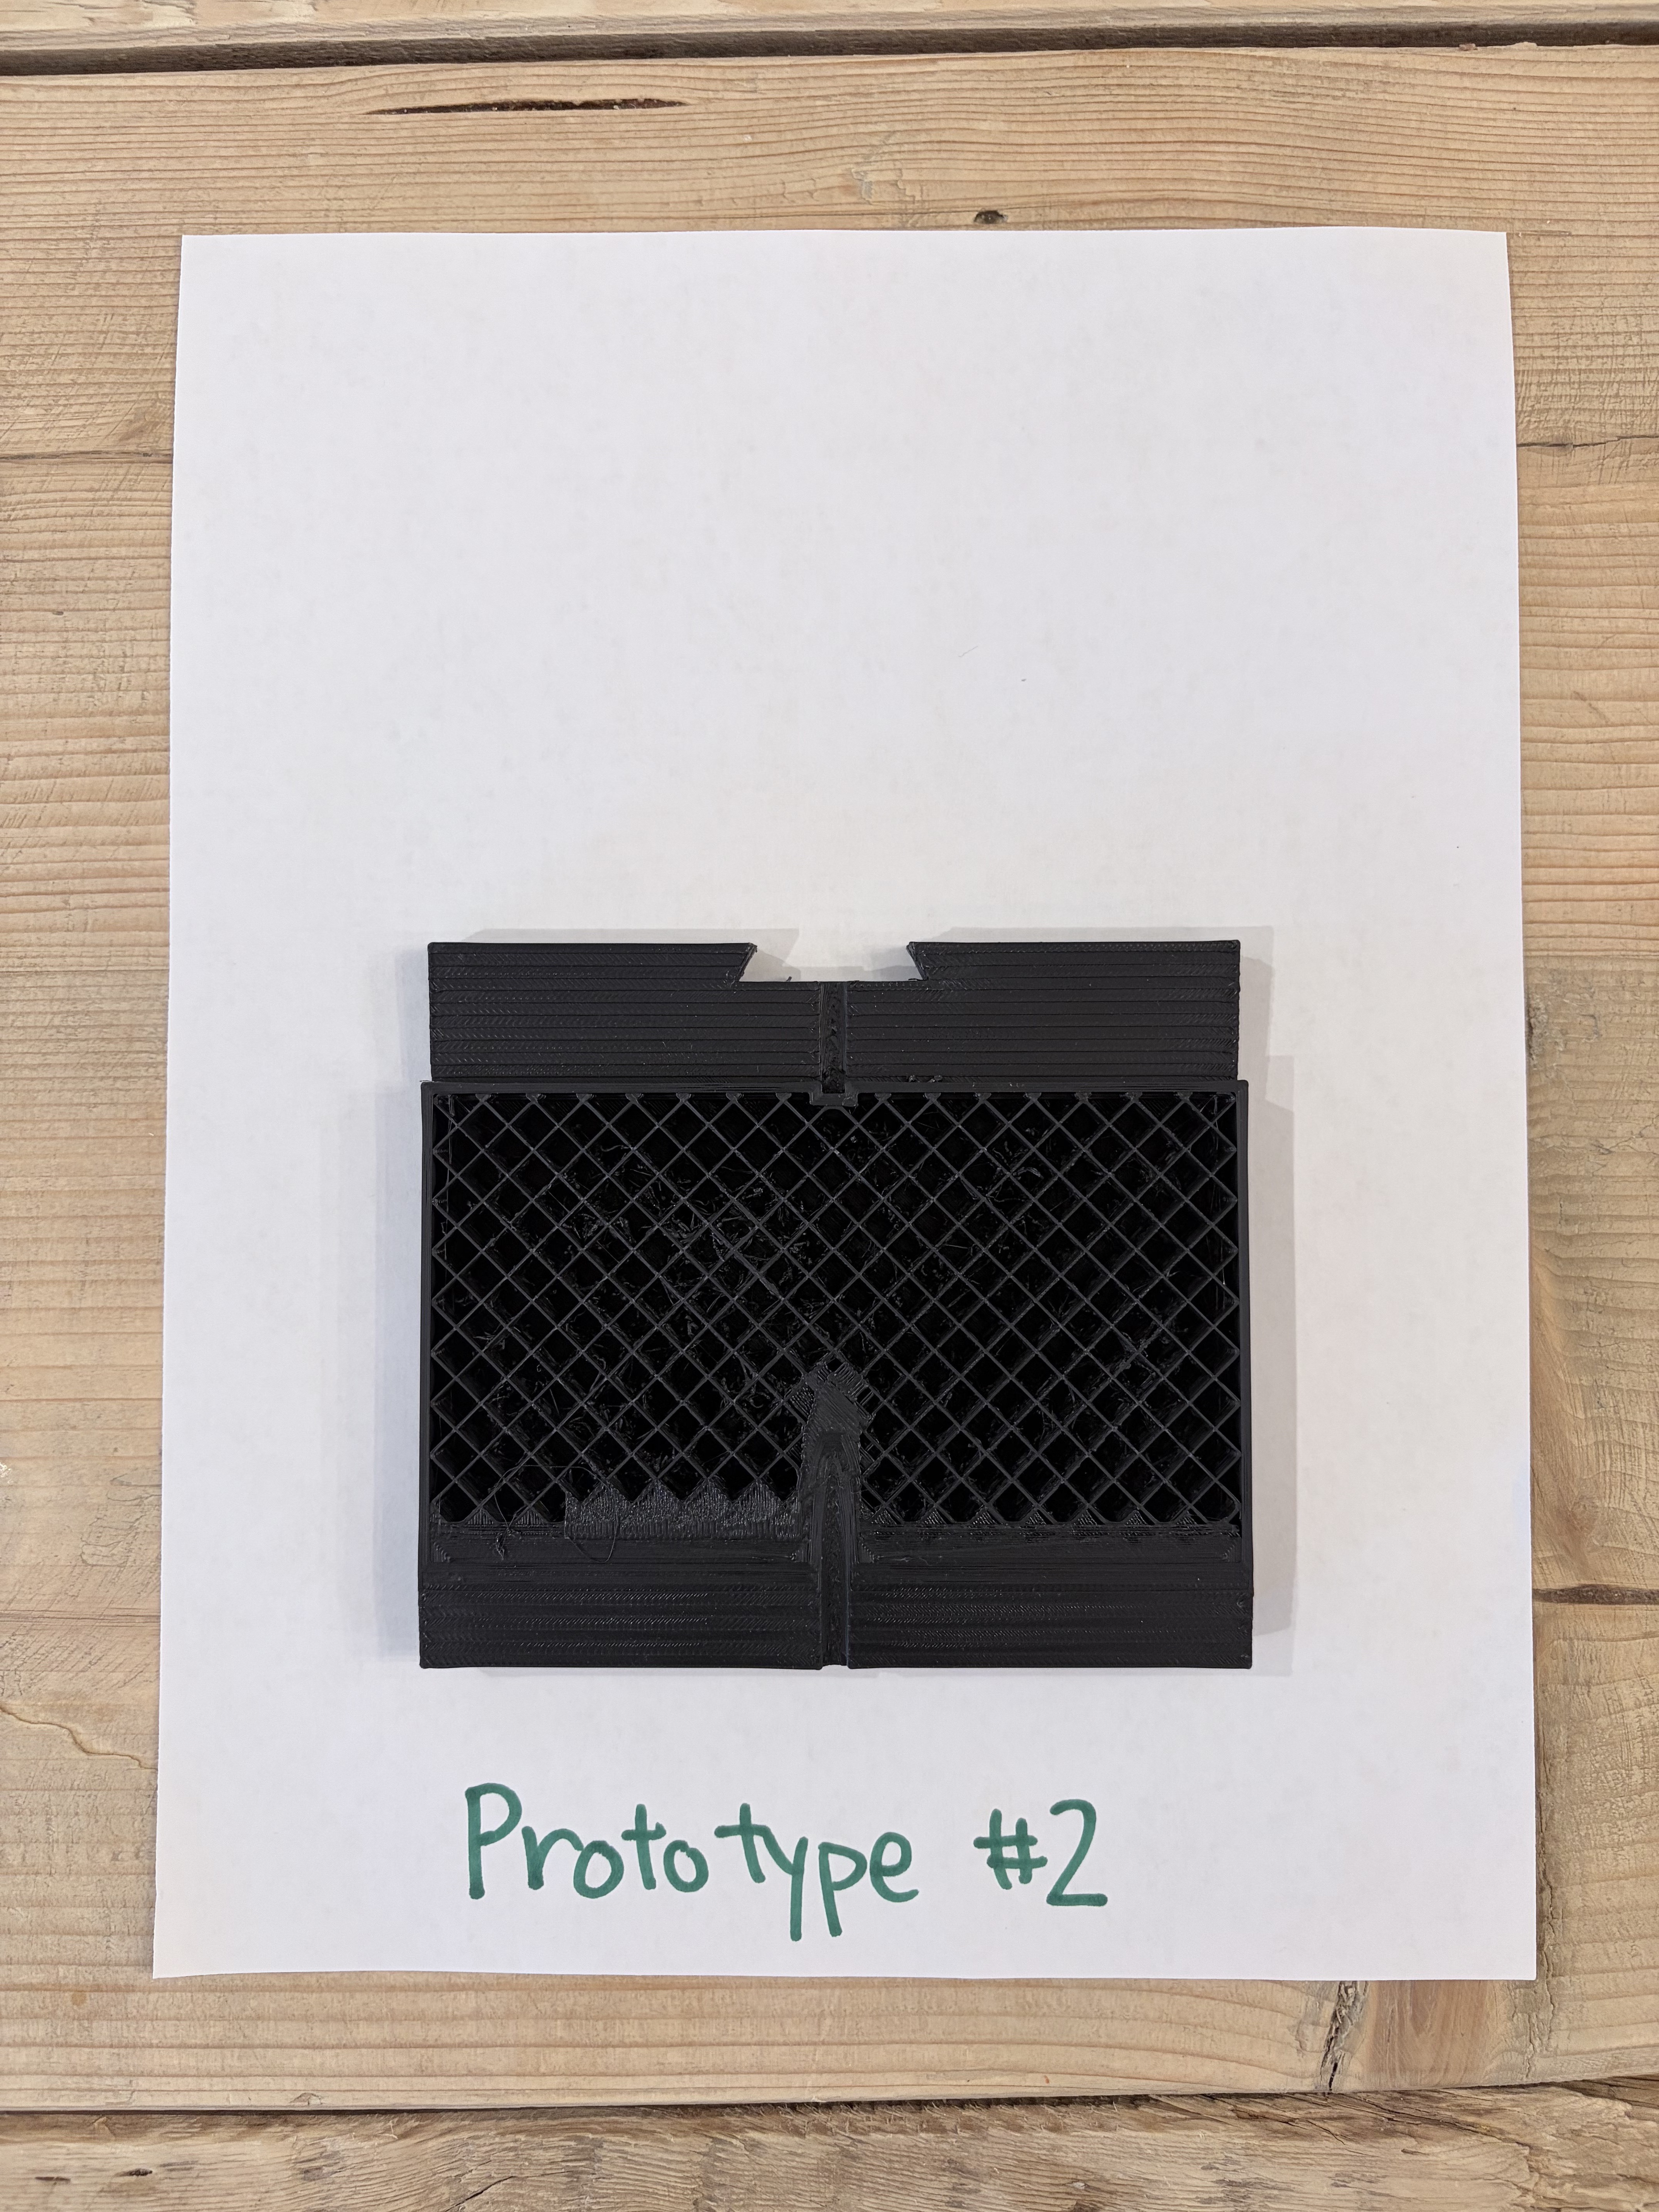
Prototype #2
We printed this one to study the internal structure. You can see the crosshatch infill pattern. The kids thought it looked like a waffle. We learned a lot about strength versus weight here.
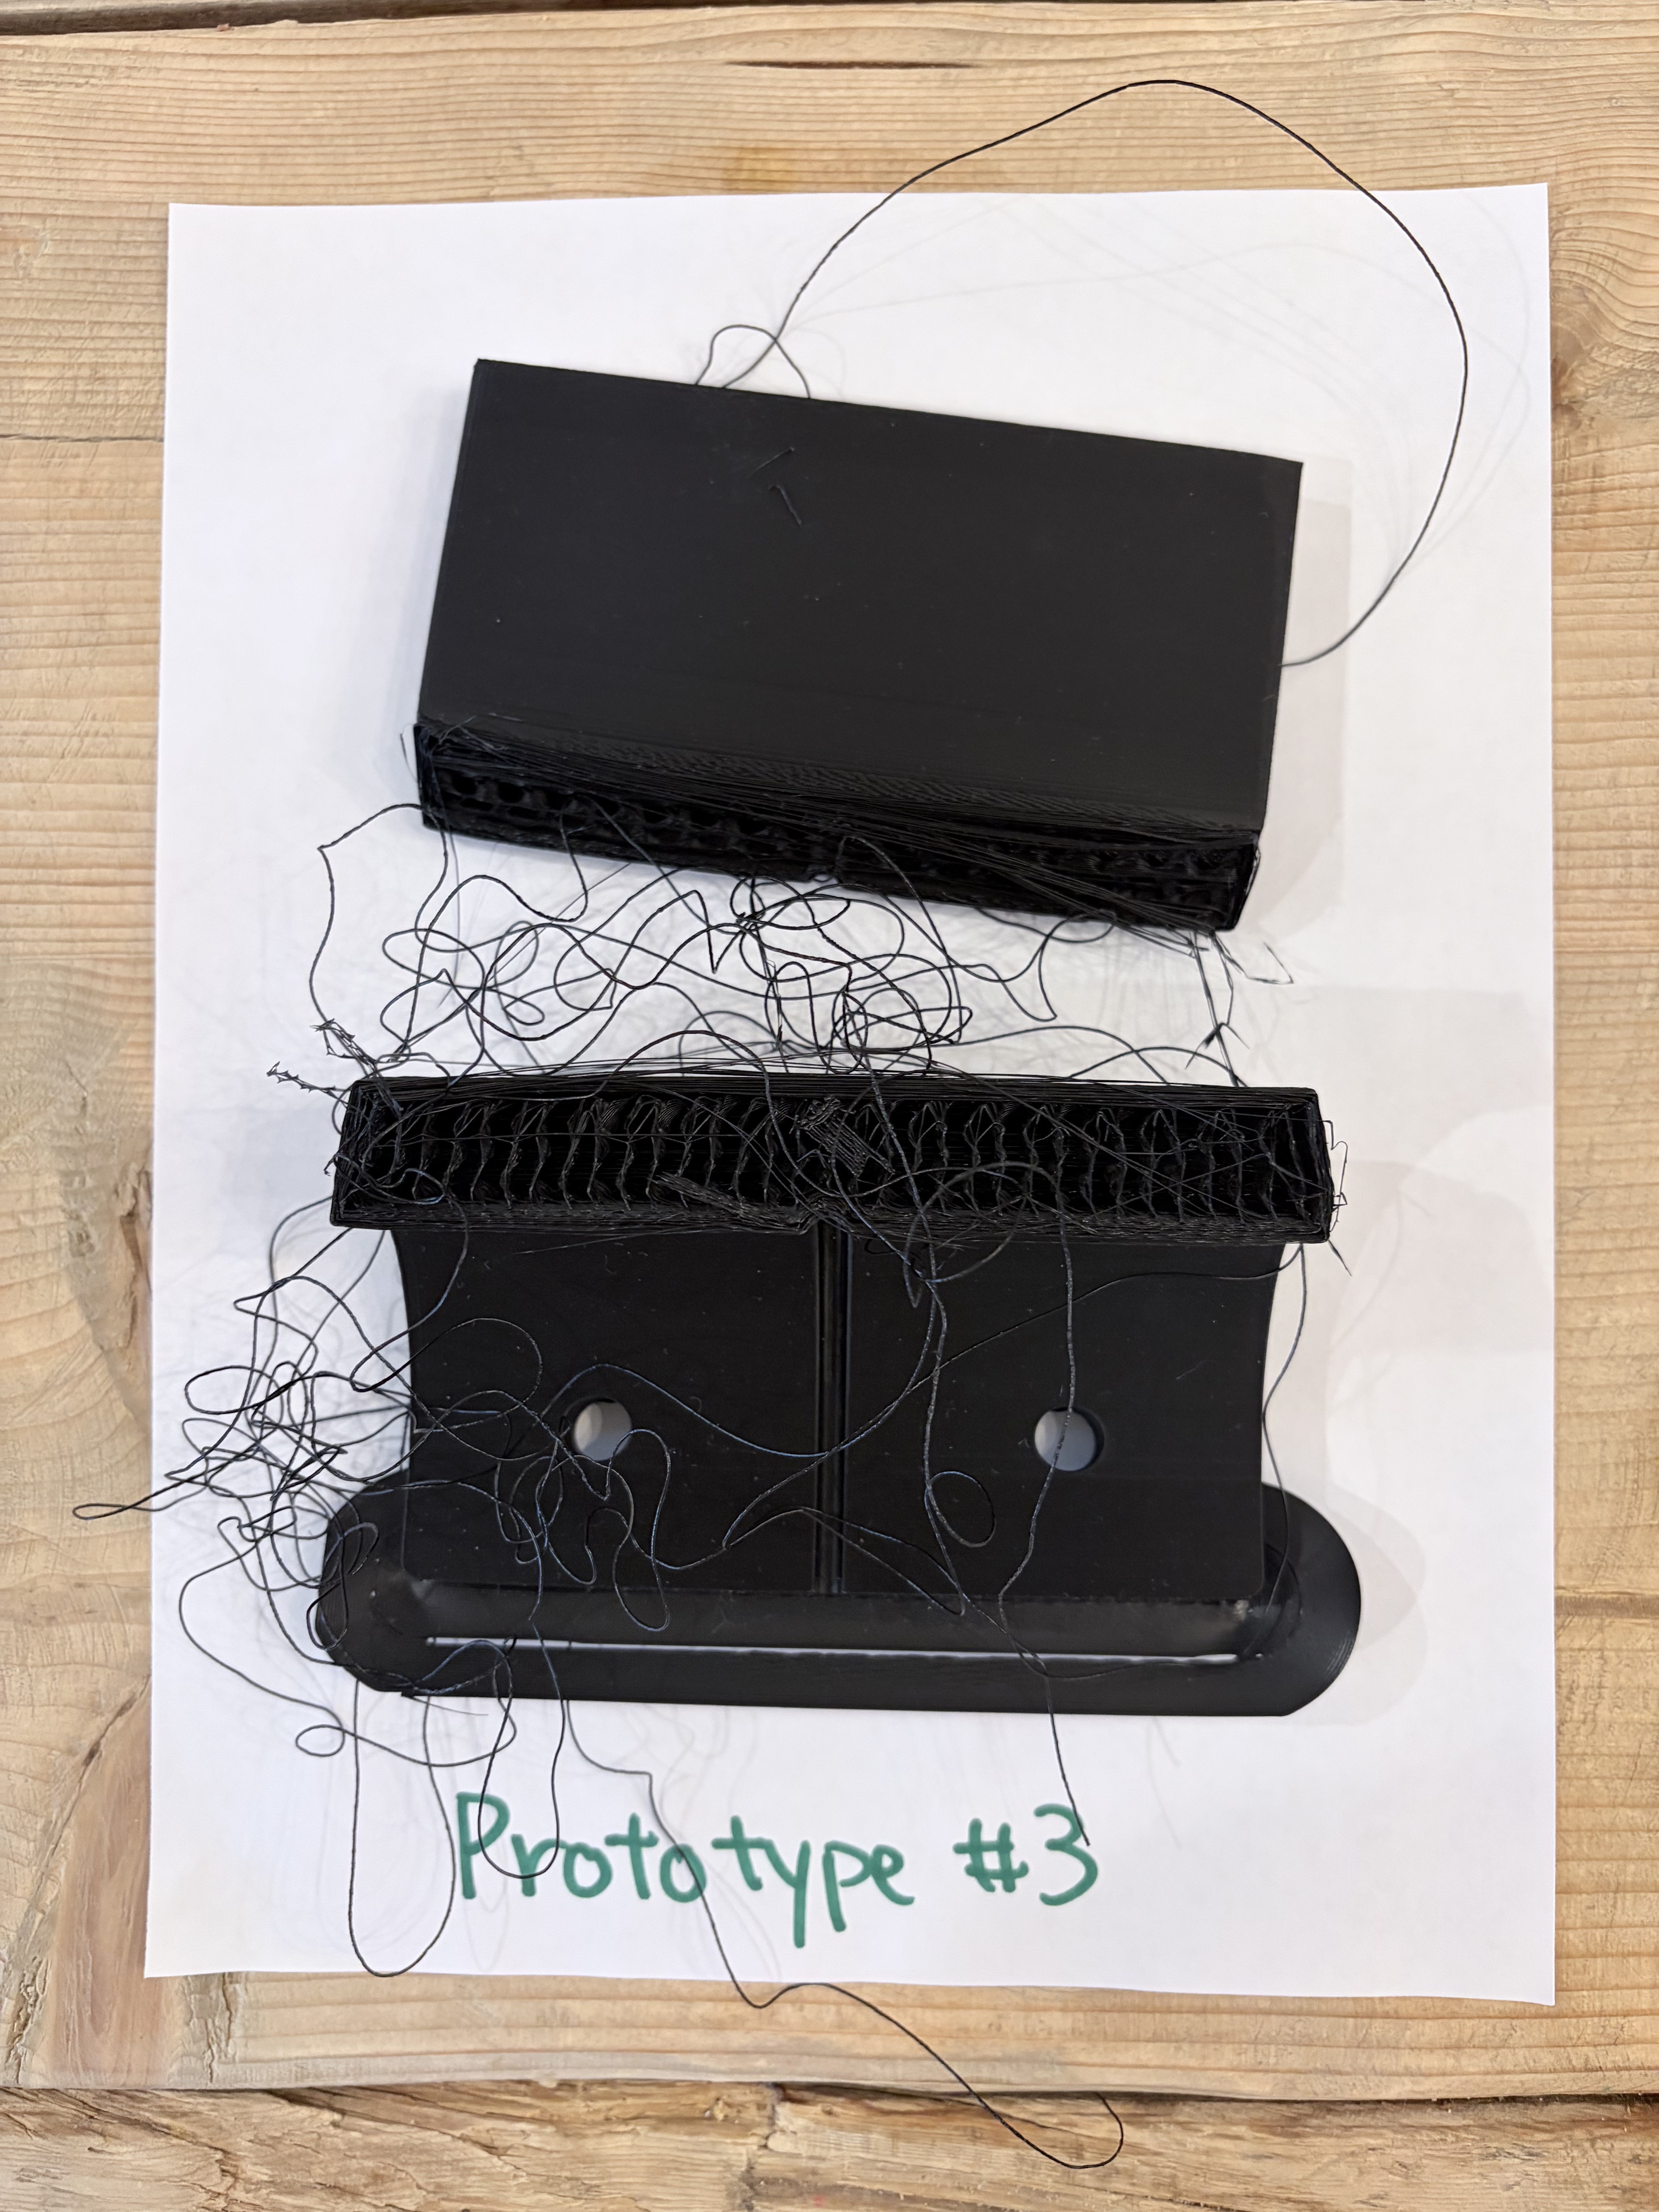
Prototype #3
The disaster. The print came loose halfway through and the printer just kept going. Filament spaghetti everywhere. The kids thought it was hilarious. Honestly, we probably learned more from this one than any of the others.
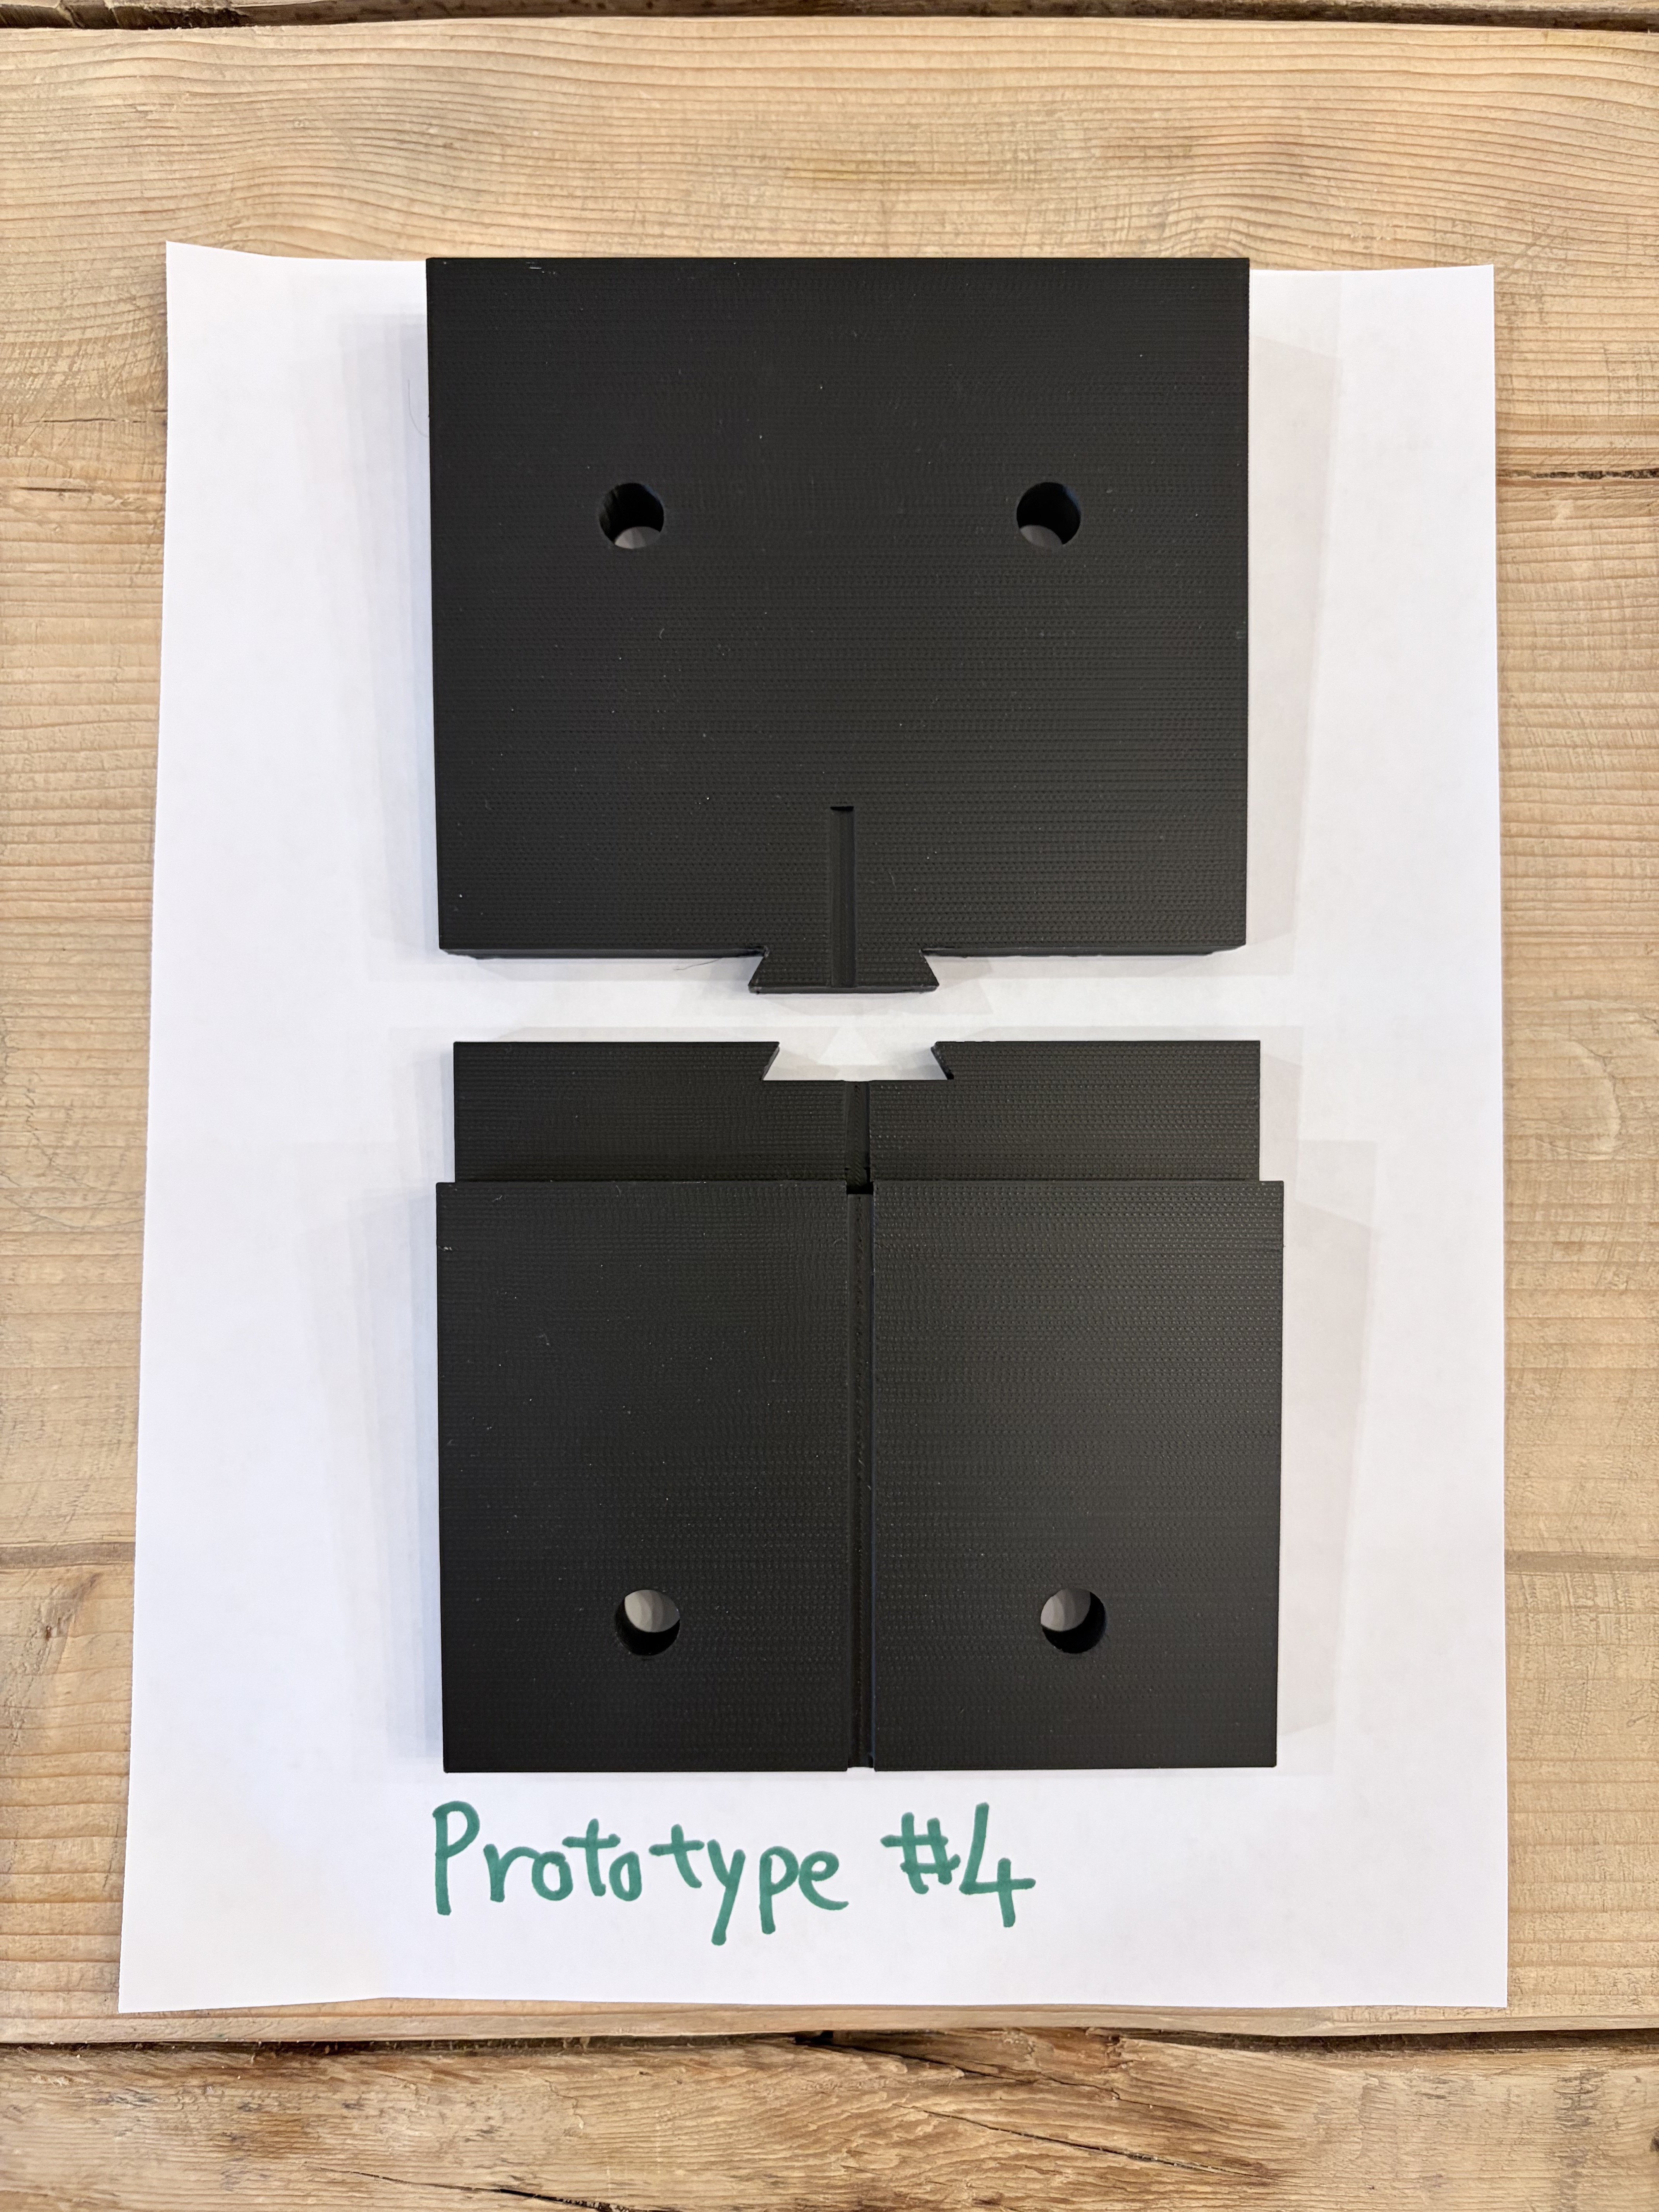
Prototype #4
Now we were getting somewhere. Clean surfaces, screw holes that actually matched the Hoselink pattern, and a little drain slot at the bottom for water. We bolted the reel on, pulled the hose hard. Didn't budge.
Between the physical prints, there were a bunch of versions that only existed on screen. Tweaking the step angle, adjusting the hole positions by fractions of a millimeter, making sure the geometry would actually work once it came off the print bed. About a dozen digital iterations for every physical one.
And then, after we mounted the final version and stood back to look at it, one of the kids said something that changed the whole trajectory.
"Dad, why don't we sell it? We spent so much time trying to solve this problem. Other people probably have the same issue."
They were right. If you search for "Hoselink siding mount" you'll find forum posts and Reddit threads and product reviews all talking about the exact same frustration. The factory backing board is flat. Siding isn't. Everyone's shimming it, propping it, or just living with the wobble.
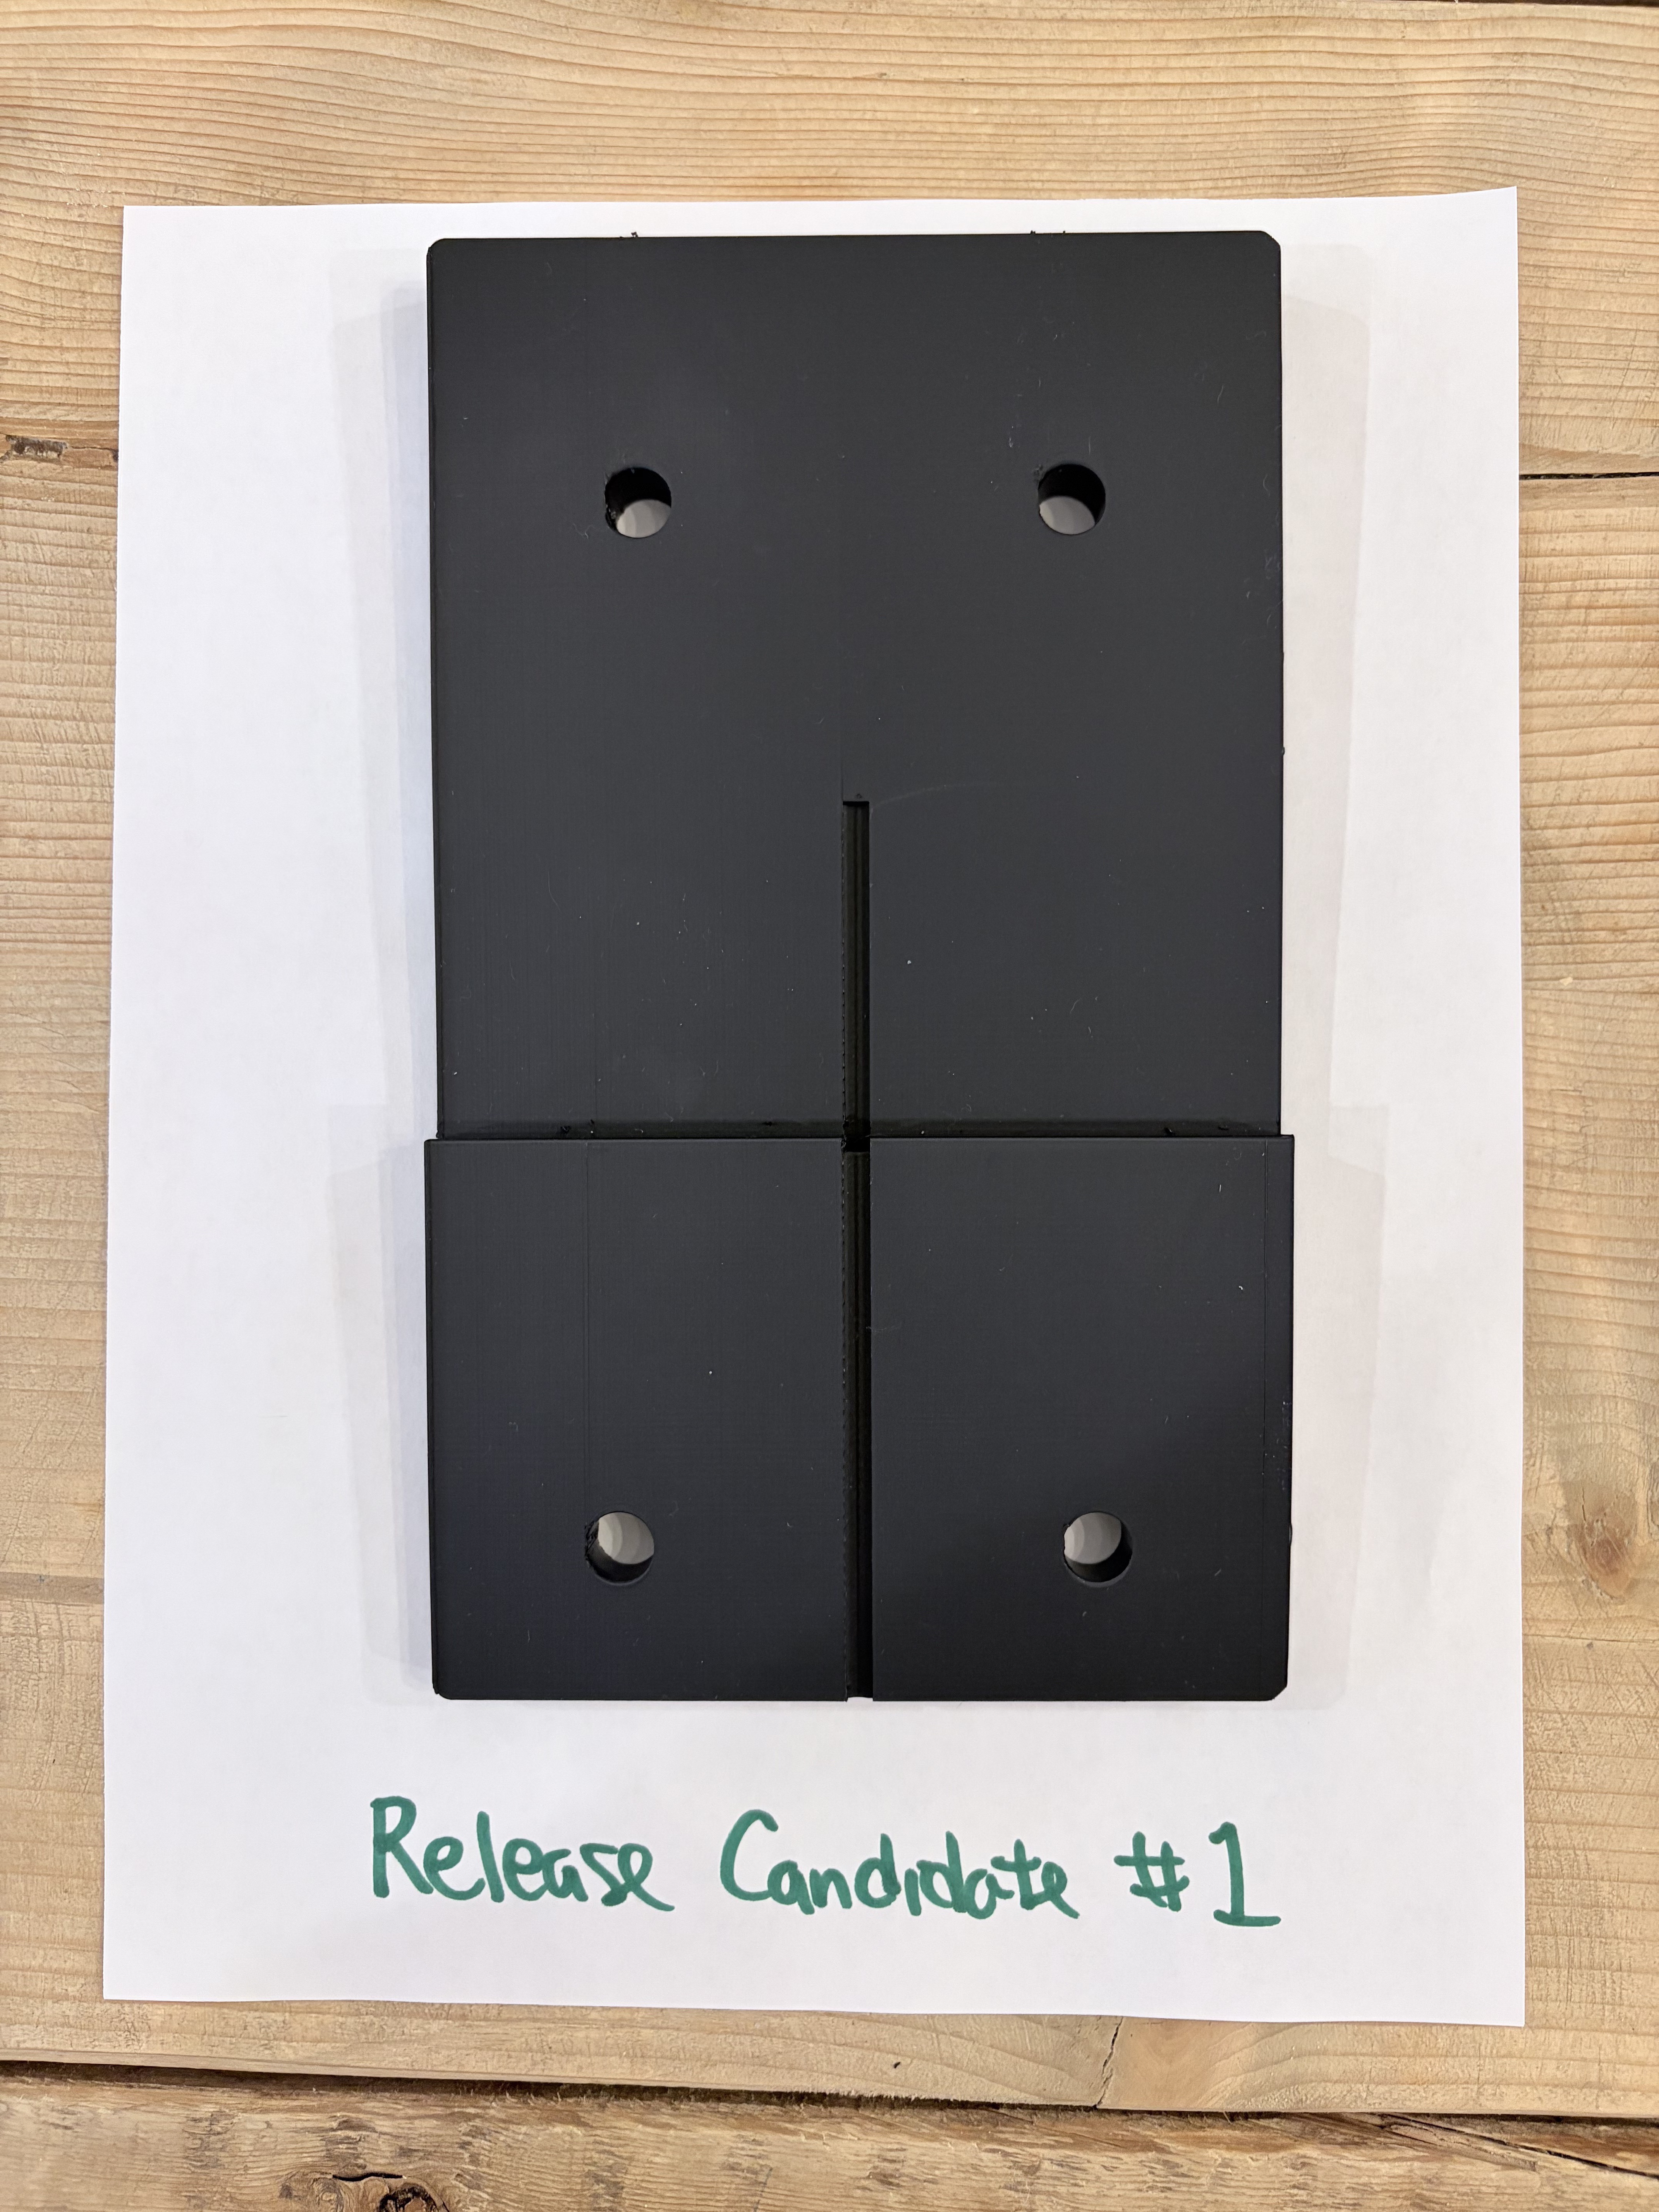
Release Candidate
We finally had it. The geometry was right, the holes lined up, it sat flush on the siding. This was the version we mounted on our wall and never looked back.
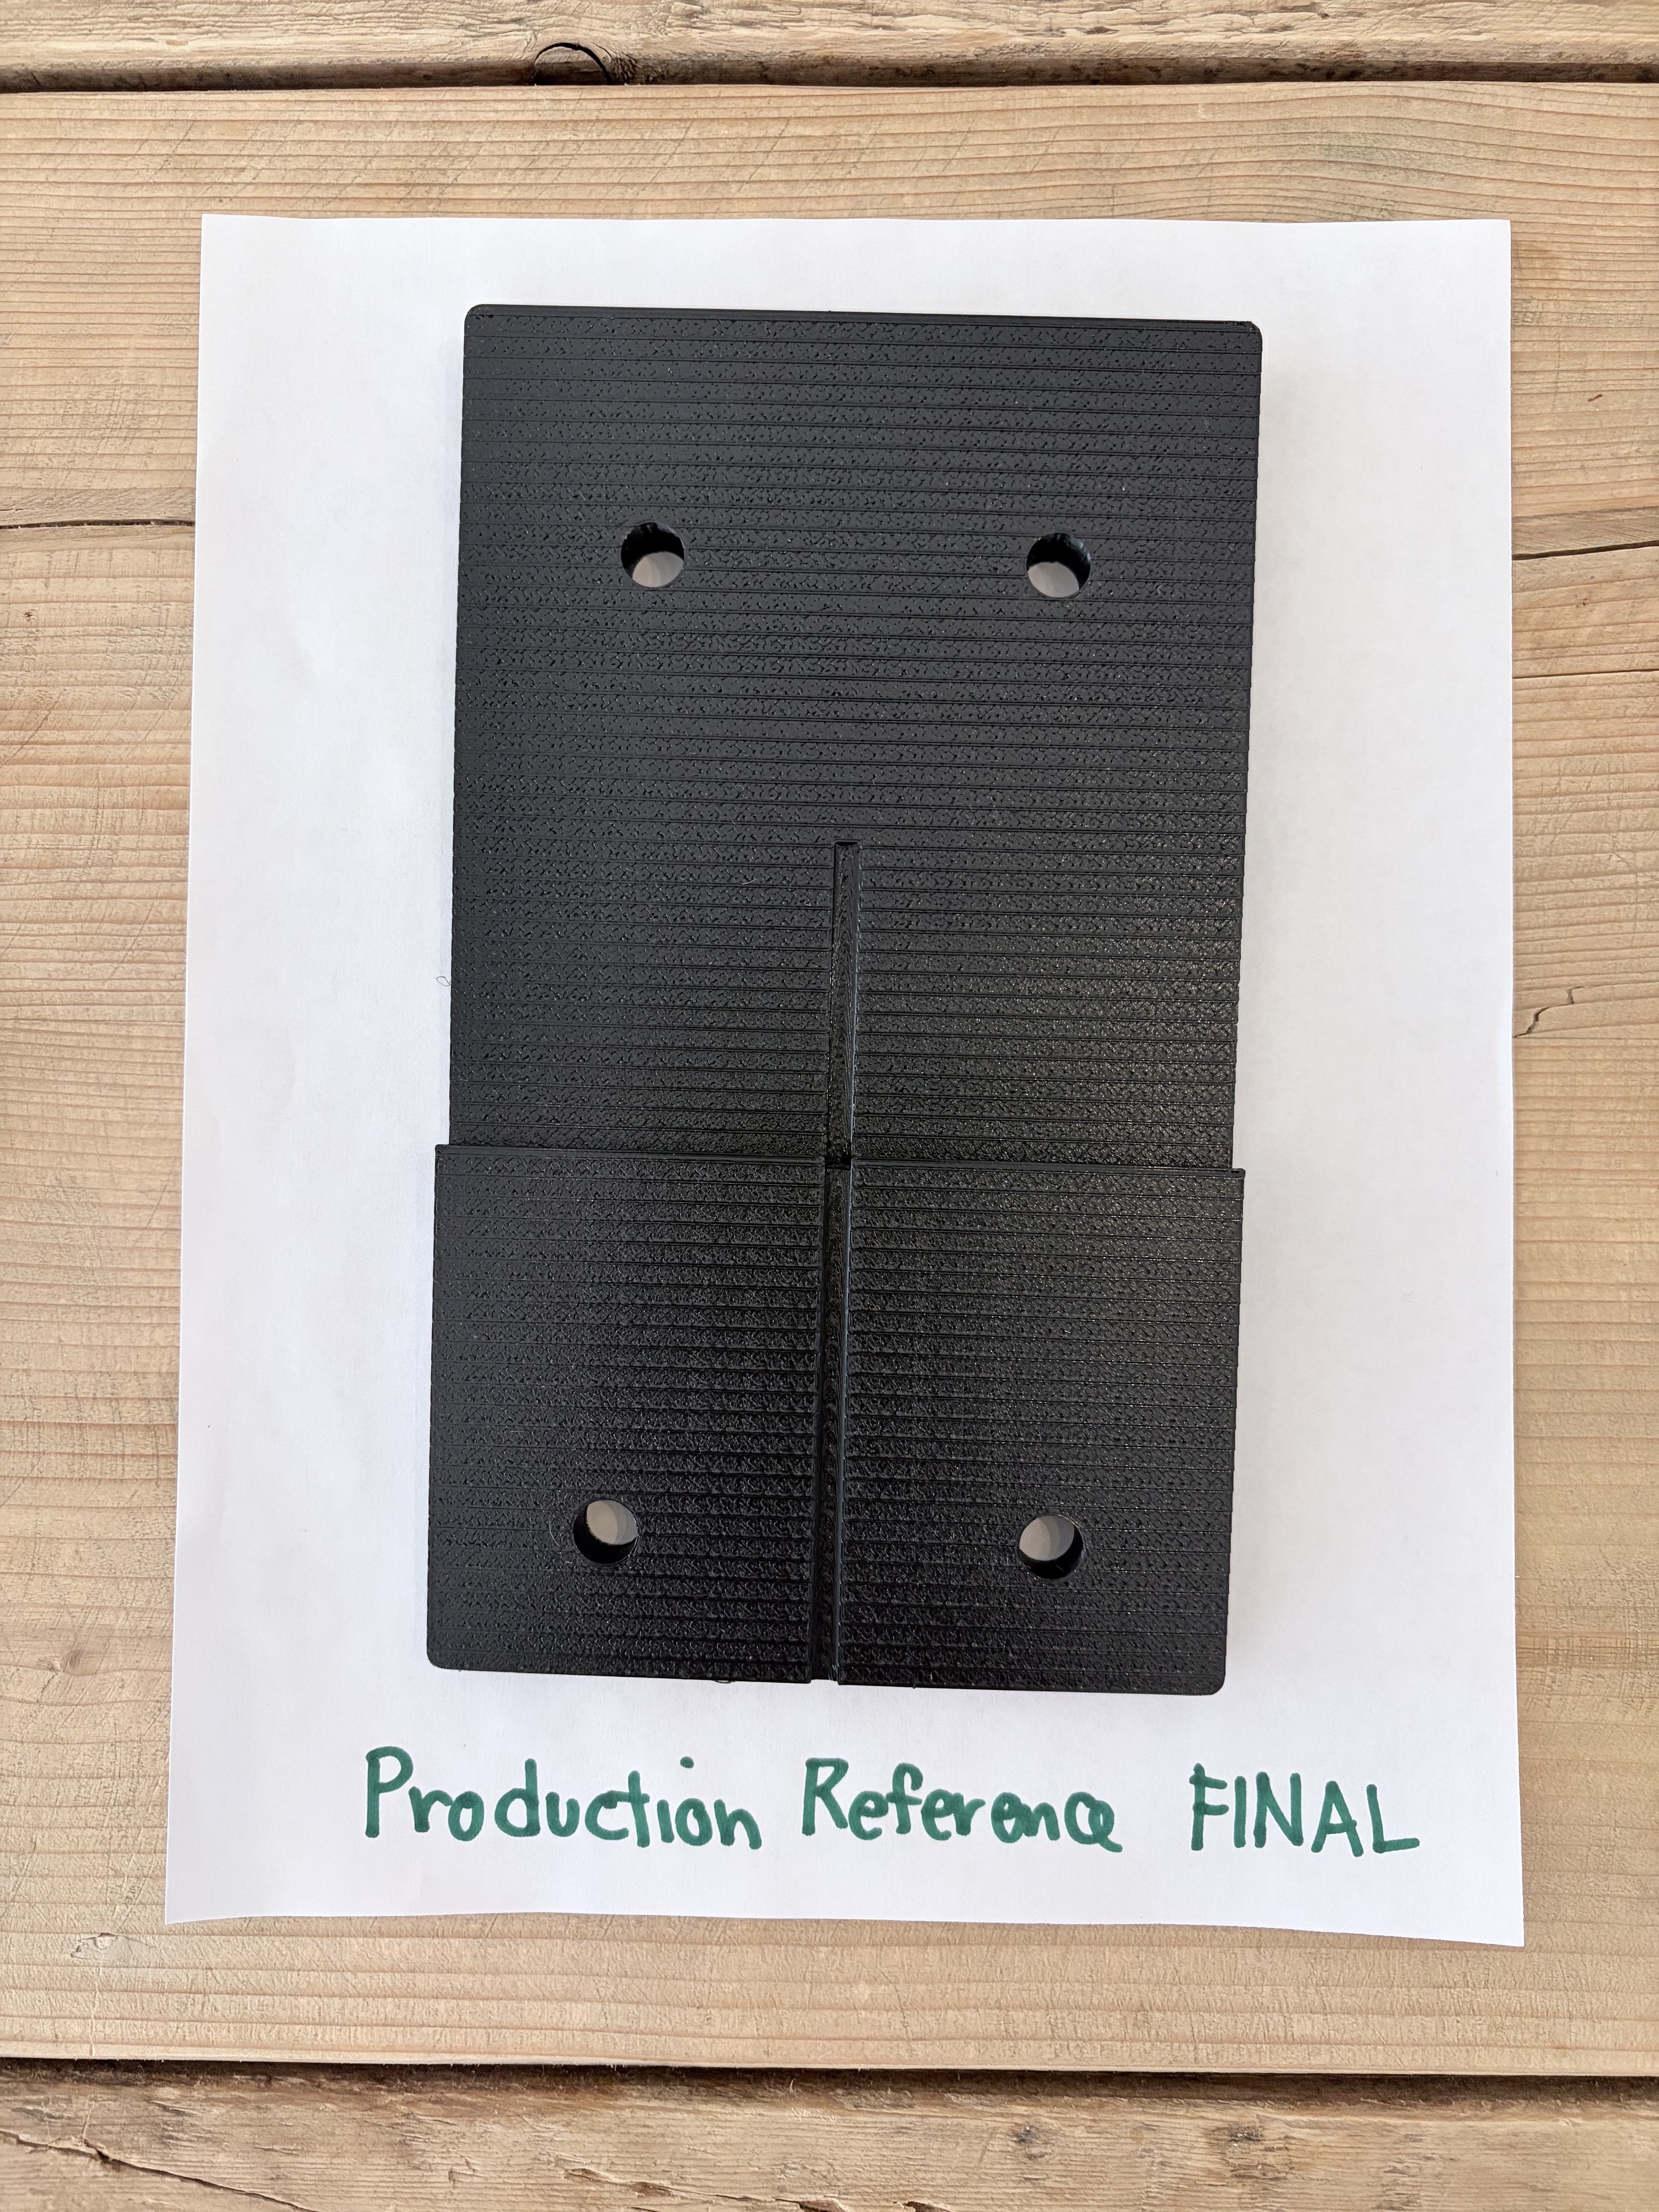
Production Final
The version that ships to you. Professionally printed with tighter tolerances and a cleaner surface finish. Same design, same stepped profile, built to last outdoors.
So we built MilliMount. You measure two numbers, we print a bracket that matches your wall. Flush fit, full contact, no shims, no separate post.
It's still a family project at heart. What started on a little desktop printer now gets produced on professional equipment so every bracket comes out perfect. But the design, the measurements, the care that goes into each one? That's still us.
If you're curious what's actually inside one, we wrote up how the bracket is printed and why it isn't solid plastic.
Somewhere in there we grew up a little. Orders used to land in a Gmail address one of us checked between school pickups. That was fine when it was a few a week — less fine once strangers were trusting us with their walls. So there's a proper address now: team@millimount.com. "Team" is generous; it's still the same family reading every message, usually at the kitchen table. But it goes somewhere real, someone answers, and nothing slips through the cracks.
Your wall isn't standard.
Your bracket shouldn't be.
Two measurements. Custom printed. Shipped in 2 to 4 days.
Customize yours